
How to make a report in NetSuite is a question every business leader utilizing this robust ERP system has asked at some point. Crafting a report custom to your needs in NetSuite can be as simple as choosing the correct data sources and configuring the report criteria:
- Steer to ‘Reports’ and click on ‘New Report.’
- Select the data metric.
- Set your desired report criteria.
- Run or save your new report.
NetSuite is a powerful tool designed to streamline your business operations. A crucial part of this process is the ability to generate insightful reports that drive decision-making. As businesses steer the demands of digital change, understanding NetSuite’s reporting capabilities becomes essential. With its flexible reporting tools, you can transform raw data into meaningful insights that align with your strategic goals. The shift towards digital solutions like NetSuite allows for cutting-edge management of financials, CRM, and eCommerce.
As Louis Balla, an experienced partner at Nuage, I’ve seen the transformative power of adeptly managing NetSuite reports. With over 15 years of digital change and supply chain expertise, I’ve helped countless businesses open up the potential of NetSuite, ensuring that they leverage its full capacity for insightful reporting. For more information on how to maximize NetSuite’s capabilities, visit our NetSuite page or explore NetSuite’s official site.

How to Make a Report in NetSuite
Creating reports in NetSuite isn’t just about pulling numbers; it’s about changing data into actionable insights. Let’s break it down step by step.
Selecting Data and Metrics
Before diving into report creation, you need to select the right data and metrics. This is where the magic begins.
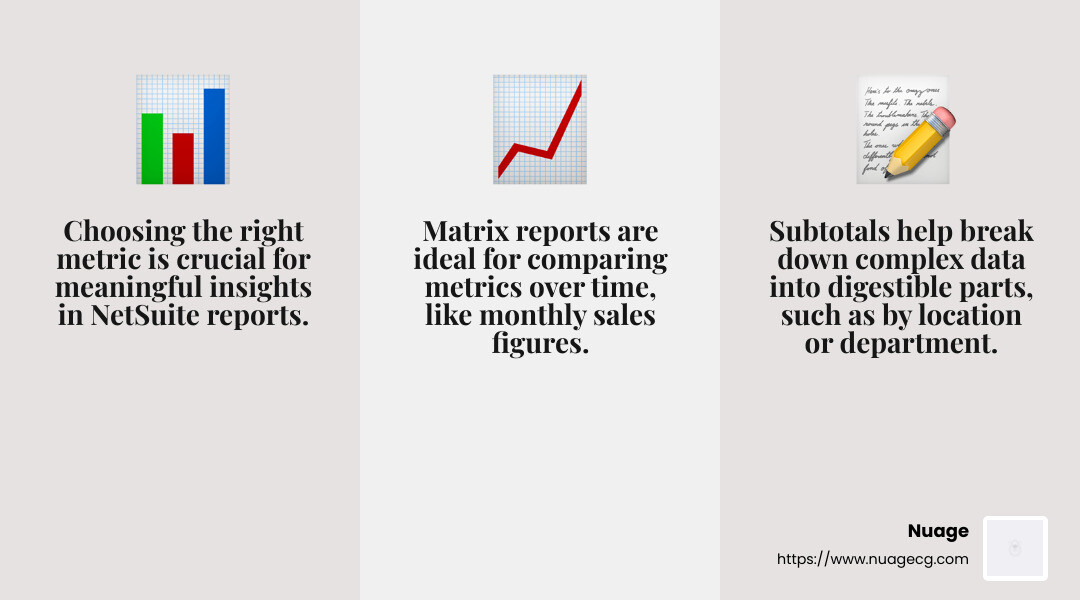
- Choose Your Metric: Start by navigating to the ‘Reports’ tab and clicking ‘New Report.’ Here, you’ll select the metric that aligns with your reporting goals. Whether it’s sales, inventory, or customer data, picking the right metric is crucial for meaningful insights.
- Ad Hoc vs. Standard Reports: If a standard report doesn’t meet your needs, consider creating an ad hoc report. Ad hoc reports allow for a high degree of customization, letting you tailor data selection to your specific requirements. This flexibility is key for businesses looking to gain a competitive edge through data-driven decisions.
Setting Report Criteria
Once you’ve chosen your metric, it’s time to set the report criteria. This step involves defining how your data will be presented.
- Report Format: Decide whether you want a summary, detailed, or matrix report. Each format serves different purposes. For instance, a summary report gives a high-level overview, while a detailed report dives into specifics.
- Subtotal and Summarize Data: Determine how you want to subtotal your report. This could be by location, department, or any other field relevant to your analysis. Subtotals help break down complex data into more digestible parts.
- Matrix Reports: If you opt for a matrix report, you can further summarize data across columns. This is especially useful for comparing metrics over time, such as monthly sales figures.

Bringing it All Together
After setting your criteria, you can run the report to view the results. This is where NetSuite’s flexibility shines. You can further customize the report using the Report Builder, adding filters, sorting options, and even reordering columns to fit your needs.
For more detailed customization, you can access the Report Builder to refine your report further. This tool allows you to add more filters, sort data in different ways, and choose how your information is displayed.
By mastering these steps, you can create reports that not only answer the question of how to make a report in NetSuite but also provide insights that drive business success.
Continue to the next section to learn about customizing reports with NetSuite, where we’ll explore how to use the Report Builder for even deeper insights.
Learn more about NetSuite with Nuage
Customizing Reports with NetSuite
Creating reports in NetSuite is just the beginning. Customization is where the real power lies, allowing you to tailor reports to your specific business needs. Let’s explore how you can make the most of the Report Builder and explore some advanced customization options.
Using the Report Builder
The Report Builder in NetSuite is your go-to tool for customizing reports. It’s designed with a What You See Is What You Get (WYSIWYG) interface, which means you can see changes in real-time before saving them. This feature is particularly useful for ensuring that your reports look exactly how you want them to.
Edit Columns, Filters, and Sorting:
- Columns: You can add or remove columns to focus on the data that matters most. For instance, if you’re looking at sales data, you might want to include columns for sales rep, region, and product category.
- Filters: Applying filters helps you narrow down the data to specific criteria. Suppose you need a report that only includes sales from California; you can set a filter to show just that.
- Sorting: Arrange your data in a way that makes sense for your analysis. Whether you want to sort by date, amount, or any other field, the Report Builder makes it easy.
Advanced Customization Options
For those who need even more control, NetSuite offers advanced customization options. These options allow you to define who can access your reports and how they can interact with them.
More Options, Audience, and Access:
- More Options: Beyond basic customization, you can define additional settings such as grouping data and adding calculated fields. This is perfect for creating complex reports that require more than just raw data.
- Audience: Decide who gets to see your custom reports. You can share them with specific users or roles, ensuring that the right people have access to the information they need.
- Access: Control access levels to your reports. You can set permissions to allow others to view, edit, or even manage the reports you create.
By leveraging these customization tools, you not only answer the question of how to make a report in NetSuite, but you also ensure that the reports are custom to provide maximum value to your business.
Next, we’ll explore how to integrate these customized reports into your dashboard, making critical data easily accessible at a glance.
Learn more about NetSuite with Nuage
Adding Reports to Your Dashboard
Once you’ve mastered how to make a report in NetSuite, the next step is to integrate these reports into your dashboard for quick and easy access. Dashboards are your command center—where all your critical data is just a click away.
Dashboard Integration
Integrating reports into your dashboard is straightforward and improves how you interact with your data. With a well-organized dashboard, you can view key metrics at a glance, making it easier to make informed decisions.
Here’s how you can get started:
- Steer to Your Dashboard: Begin by accessing your dashboard through the main menu. This is where all your reports and key performance indicators (KPIs) will live.
- Add a Report Snapshot Portlet: Use the Report Snapshot portlet to add your customized reports to the dashboard. This feature allows you to see a summary or a specific view of your report right on your dashboard.
- Customize Your View: You can adjust the size and position of the report snapshot on your dashboard. This ensures that the most important data is always visible and accessible.
Using the Report Snapshot Portlet
The Report Snapshot portlet is a powerful tool for keeping tabs on your business’s performance. It lets you display a condensed version of your reports directly on your dashboard, providing instant insights without having to run full reports each time.
- Select the Reports to Display: Choose which reports you want to see in your snapshot. You can include financial summaries, sales reports, or any other key data that you need regularly.
- Configure Display Options: Tailor the snapshot to show the most relevant data. You can select specific fields, set date ranges, and apply filters to ensure the snapshot meets your needs.
- Real-Time Updates: The snapshot refreshes automatically, so you’re always looking at the most current data. This real-time visibility is crucial for staying on top of your business operations.
By effectively using the dashboard and the Report Snapshot portlet, you make your data work for you. This setup not only saves time but also improves your ability to respond quickly to business changes.
Next, we’ll tackle some common questions about NetSuite reporting to further improve your understanding and usage of this powerful tool.
Learn more about NetSuite with Nuage
Frequently Asked Questions about NetSuite Reporting
How to create a transaction report in NetSuite?
Creating a transaction report in NetSuite is a breeze once you know where to start. Here’s a quick guide:
- Steer to the Reports Page: Begin by heading to the Reports tab in the main menu. This is your gateway to all reporting functionalities.
- Select New Report: Click on New Report to kickstart the process. This option allows you to choose the type of data you want to report on. For transaction reports, you’ll typically select metrics related to sales, purchases, or other financial transactions.
- Set Your Criteria: Once you’ve selected your metric, configure the report by setting criteria like date ranges, transaction types, and any specific fields you want to include. This customization ensures the report meets your specific needs.
- Run and Save: After setting up your report, click Run Report to view it. If it meets your requirements, you can save it for future use by going to Reports > Saved Reports > All Saved Reports.
This process allows you to keep a close eye on your transactions, ensuring you have the data you need to make informed decisions.
How do I add a report to my dashboard in NetSuite?
Adding a report to your dashboard in NetSuite is a great way to keep important information at your fingertips. Here’s how you can do it:
- Access Your Dashboard: Start by navigating to your dashboard through the main menu. Think of this as your personal command center.
- Use the Report Snapshot Portlet: Add a Report Snapshot portlet to your dashboard. This feature allows you to embed a summary or detailed view of any report directly onto your dashboard.
- Select and Customize: Choose the report you wish to display and configure how you want it to appear. You can adjust the size, position, and even apply filters to ensure the data is relevant and up-to-date.
This integration makes it easy to monitor key metrics and respond quickly to any changes in your business environment.
How do I pull reports in NetSuite?
Pulling reports in NetSuite is all about accessing the right information quickly. Here’s a simple way to do it:
- Go to the Reports Page: Steer to the Reports page via the main menu. This is your central hub for generating reports.
- Search or Browse: Use the search function to find a specific report or browse through the categories to locate the report you need. This is where NetSuite’s pre-built reports come in handy.
- Customize and Run: Once you find the report, customize it if necessary by adjusting filters or date ranges. Then, click Run Report to pull the data.
- Export or Schedule: After pulling the report, you can export it in various formats like Excel, PDF, or CSV. You can also schedule it to run automatically at specific intervals.
By following these steps, you ensure that you always have access to the most critical data whenever you need it.
Learn more about NetSuite with Nuage
Conclusion
At Nuage, we believe in empowering businesses through smart digital changes. With over 20 years of experience in the ERP sector, we have developed a deep understanding of how to leverage tools like NetSuite to drive operational excellence.
NetSuite Solutions with Nuage
When it comes to report creation in NetSuite, our expertise ensures that you can open up the full potential of your data. From standard reports to advanced customizations, we guide you through every step, helping you make informed decisions that propel your business forward.
Our partnership with NetSuite allows us to offer custom solutions that fit your unique needs. Whether you’re in manufacturing, food and beverage, or any other industry, we have the know-how to streamline your processes and improve your reporting capabilities.
Ready to take your business to the next level? Learn more about NetSuite with Nuage. Let us help you achieve operational excellence through effective digital change.
Your journey to smarter business operations starts here. Get in touch with us today and find how we can help you open up the power of ERP.